Step-by-Step Guide to Making Your First Soy Candle
Introduction
Creating a homemade candle can be a delightful and satisfying activity. Whether you're a book lover looking to enhance your reading experience or simply enjoy the cozy ambiance candles provide, making your own candles can be both fun and practical.
Quick Summary: 1. Materials Needed: Soy wax, wicks, containers, optional fragrance. 2. Tools Required: Pot, hot plate/electric stove, newspaper. 3. Basic Steps: - Place wick in container. - Heat and melt the wax. - Add fragrance and color as desired. - Pour wax into the container. - Let cool and trim the wick.
Soy wax is a great option for beginners because it is natural, clean-burning, and easy to work with. Also, unlike traditional paraffin wax, soy wax is non-toxic and produces minimal soot, which means cleaner air for your home.
Ready to start your candle-making journey? Let's dive into the step-by-step process to create your first cozy homemade candle!

Choosing Your Materials
Before you start making your first soy homemade candle, gather the right materials. Here's what you'll need:
Soy Wax Flakes
Soy wax is an excellent choice for beginners. It's natural, clean-burning, and easy to work with. Unlike paraffin wax, soy wax is non-toxic and produces minimal soot, keeping your indoor air cleaner.
- Pro Tip: Use high-quality soy wax flakes for the best results. A 5-lb bag costs about $20 and can make multiple candles.
Wick Types
Choosing the right wick is crucial for a successful candle. The wick controls how your candle burns and affects the scent throw.
- Cotton Wicks: These are the most common and provide a steady, even burn. Look for lead-free cotton wicks to avoid harmful chemicals.
-
Wood Wicks: These offer a crackling sound like a fireplace, adding extra ambiance. They also burn slower, extending your candle's life.
-
Quick Tip: For an 8-ounce candle, a medium-sized cotton wick is usually ideal.
Containers
Your container not only holds the wax but also adds to the candle's aesthetic. You can use various types of containers, such as:
- Glass Jars: Mason jars, jam jars, or even recycled candle jars are great options.
- Tin Cans: Lightweight and easy to decorate.
-
Teacups: Perfect for a vintage look.
-
Eco-Friendly Tip: Reuse old candle containers to save money and reduce waste.
Scent Options
Adding a fragrance to your candle can make it even more special. You have two main options:
- Essential Oils: These are natural and offer therapeutic benefits like relaxation and stress relief. Use about 60 drops for an 8-ounce candle.
-
Fragrance Oils: These are synthetic but provide a stronger scent throw. Follow the manufacturer's recommended dosage for the best results.
-
Fun Fact: Lavender, eucalyptus, and peppermint are popular choices for a calming scent.
Color Options
Coloring your candle can add a personal touch. You can use:
- Candle Dye: Available in liquid, chip, or block form. Add a small amount to the melted wax until you achieve the desired color.
-
Crayons: If you're in a pinch, old crayons can be melted down to add color. Just make sure to remove the paper wrapping first.
-
Creative Idea: Mix different colors to create a unique shade for your candle.
By choosing the right materials, you're setting yourself up for a successful candle-making experience. Next, we'll prepare your workspace to ensure everything goes smoothly.
Preparing Your Workspace
Before diving into making your first homemade candle, it's crucial to set up a workspace that keeps things tidy and safe. Here's how to prepare:
Cover Your Surface
Start by covering your work area with newspaper or a brown paper bag. This will protect your surfaces from any spills or drips, making cleanup much easier.
Gather Your Tools
You'll need a few essential tools to get started:
-
Measuring Cups: Use these to accurately measure your wax and any other ingredients. Having precise measurements ensures your candles turn out just right.
-
Pot: A small pot is necessary for melting your wax. Make sure it's one you won't use for cooking again, as wax can be tough to clean out.
-
Hot Plate or Electric Stove: You'll need a heat source to melt the wax. A hot plate or electric stove works best for this purpose.
Arrange Your Materials
Keep all your materials within arm's reach to streamline the process. This includes your wax, wick, containers, and any optional fragrances or colors.
Safety First
Ensure you have good ventilation in your workspace. Melting wax releases fumes, and good air circulation helps keep the air clean. Also, keep a fire extinguisher nearby, just in case.
By prepping your workspace properly, you set the stage for a smooth and enjoyable candle-making experience. Up next, we’ll dive into the process of melting and mixing the wax to create your first soy candle.
Melting and Mixing the Wax
Making a homemade candle involves a simple but crucial process of melting and mixing the wax. This step sets the foundation for a well-crafted candle.
Double Boiler Method
Using a double boiler is a safe way to melt your wax for first time candlemakers. It prevents the wax from overheating and ensures an even melt. Here’s how to set it up:
- Fill a Larger Pot with Water: Add enough water to cover at least half of your smaller melting pot.
- Place the Melting Pot Inside: Put your chosen melting pot inside the larger pot.
- Heat Over Medium Heat: Turn on the stove to medium heat and let the water simmer.
This method is similar to melting chocolate and keeps the wax from burning.
Temperature Monitoring
Temperature control is key in candle making. Use a kitchen thermometer to monitor the wax temperature closely. Here are the critical temperatures:
- Melt the Wax to 185°F: This is the ideal temperature for adding scent and color.
- Cool to 125°F Before Pouring: Let the wax cool down before pouring it into containers. This helps prevent cracks and ensures a smooth finish.
Stirring in Scent
Adding your chosen scent at the right temperature is crucial for a strong scent throw. Here's how to do it:
- Heat Wax to 185°F: Once your wax reaches this temperature, it's ready for scent.
- Add Essential Oils or Fragrance Oils: Measure out your scent oil based on your wax weight. A good rule of thumb is 1 ounce of scent oil per pound of wax but follow the instructions on the fragrance oil for the correct ratio.
- Stir Well: Mix the scent oil thoroughly to ensure it’s evenly distributed.
Adding Color
If you want to add color to your candle, this is the step to do it. Use candle dye or crayon shavings for a pop of color:
- Add Dye at 185°F: Just like the scent, add your dye when the wax reaches 185°F.
- Stir Until Completely Mixed: Make sure the color is fully dissolved and evenly mixed.

By following these steps, you’ll have a well-mixed wax ready for pouring. Next, we’ll cover how to set the wick to ensure your candle burns evenly.
Setting the Wick
Setting the wick correctly is crucial for an even burn and a well-functioning homemade candle. Here's how to do it:
Wick Placement
Before you pour the wax, place your wick into the container. This step is essential to ensure the wick stays in the center as the wax hardens.
- Choose the Right Wick: Different waxes and container sizes need different wick sizes. Use a wick guide to choose the correct one.
- Attach the Wick: Use wick stickers or hot glue to secure the metal base of the wick to the bottom center of your container. This keeps the wick in place when you pour in the hot wax.
Securing the Wick
Once the wick is attached to the bottom of the container, you need to secure it at the top to keep it straight and centered.
- Use a Wick Holder: Place a wick holder, like a clothespin or popsicle stick, across the top of the container. Insert the wick through the hole in the holder to keep it upright.
- Double-Check Alignment: Make sure the wick is centered and taut. This prevents it from shifting when you pour the wax.
Centering the Wick
Centering the wick is vital for an even burn and to avoid issues like tunneling.
- Adjust as Needed: After securing the wick at the bottom and top, make any necessary adjustments to ensure it is perfectly centered.
- Stabilize with Skewers: For extra stability, you can use skewers or additional popsicle sticks to brace the wick in place.
By following these steps, you’ll ensure your wick is perfectly placed, secured, and centered, setting the stage for a successful candle-making experience.
Next, we’ll dive into the process of pouring the wax to create your candle.
Pouring the Wax
Pouring the wax is a crucial step in making your homemade candle. Follow these steps to ensure a smooth and successful pour.
Temperature Check
Before pouring, check the wax temperature.
- Ideal Pouring Temperature: Allow the melted wax to cool to around 125°F. This helps prevent air bubbles and ensures a smooth finish.
- Use a Thermometer: A kitchen thermometer is a handy tool to monitor the wax temperature accurately.
Slow Pouring
Pouring the wax slowly is key to avoiding common issues.
- Steady Hand: Hold the melting pot steadily and pour the wax into your container slowly.
- Center the Pour: Aim to pour directly into the center, away from the sides. This helps in keeping the wick centered and reduces the chances of air bubbles forming.
Avoiding Air Bubbles
Air bubbles can ruin the appearance and performance of your candle.
- Slow and Steady: Pouring slowly helps to minimize air bubbles.
- Tap the Container: Gently tap the container on the counter to release any trapped air bubbles.
- Check for Bubbles: If you see bubbles, use a skewer or a toothpick to pop them while the wax is still hot.
By carefully monitoring the temperature, pouring slowly, and taking steps to avoid air bubbles, you'll create a beautifully smooth and even candle.
Next, we'll discuss the cooling and curing process to finalize your homemade candle.
Cooling and Curing
Once you've poured your wax, the cooling and curing process is crucial for a perfect homemade candle. Let's break it down step-by-step.
Room Temperature
Keep it steady: Your workspace should be at a consistent room temperature, ideally between 65°F and 75°F (18°C to 24°C). Extremes in temperature can cause your candle to cool too fast or too slow, leading to cracks or uneven surfaces.
Time Duration
Patience is key: Allow your candle to cool slowly at room temperature. This usually takes about an hour. However, for the best results, let it rest for 24 hours. This gives the wax ample time to solidify and stabilize, ensuring a smooth finish and proper scent throw.
Candle Curing
Why cure?: Curing is the process of letting your candle sit for a period after it has cooled. This helps the fragrance bind better with the wax, resulting in a stronger scent when burned.
Final touches: After 24 hours, remove any clothespins or washcloths and trim the wick to about 1/4 inch. Your candle is now ready to use or gift!
By following these steps, you'll ensure that your homemade candle looks great and burns well.
Next, we'll explore how to add personal touches to make your candle unique.
Adding Personal Touches
Essential Oils
Adding essential oils to your homemade candle can create a personalized scent experience. Essential oils are natural and provide a subtle, pleasant aroma. Some popular choices include:
- Lavender: Calming and relaxing.
- Eucalyptus: Refreshing and invigorating.
- Peppermint: Energizing and cool.
- Grapefruit: Uplifting and citrusy.
Use about 60 drops of essential oil per candle for a noticeable scent. Essential oils are not as potent as synthetic fragrance oils, but they offer a natural option.
Dried Herbs
Incorporating dried herbs like lavender buds, rosemary, or crushed rose petals can add a decorative touch to your candles. While they don't provide much fragrance, they do enhance the candle's appearance. Use them sparingly and with caution, as they can be flammable. Always keep an eye on the candle while it's burning.
Custom Labels
Custom labels can make your candles stand out, especially if you're gifting them or selling them. Design a label that reflects the candle's scent, ingredients, or the occasion. You can use printable adhesive labels or create your own using cardstock and double-sided tape.
Some ideas for custom labels include:
- Name of the scent: "Lavender Bliss" or "Eucalyptus Escape"
- Ingredients: "100% Soy Wax, Lavender Essential Oil, Dried Lavender Buds"
- Occasion: "Happy Holidays!" or "Handmade with Love"
Adding these personal touches will make your homemade candle unique and special.
Now, let's move on to some important safety tips to ensure your candle-making process is smooth and hazard-free.
Safety Tips
When making homemade candles, safety should always be a top priority. Here are some essential tips to keep your candle-making process safe and enjoyable.
Ventilation
Good ventilation is crucial when working with hot wax and scent oils. Ensure your workspace is well-ventilated to avoid inhaling fumes. Open windows or use a fan to keep the air circulating.
Heat Source Management
Using a double boiler is the safest way to melt your wax. It prevents the wax from overheating and catching fire. Avoid using direct heat sources like microwaves or stovetops without a double boiler setup.
Wax Temperature
Monitoring the temperature of your wax is vital. Use a kitchen thermometer to keep track. Heat the wax to 185°F for melting, then cool it to 125°F before pouring. Overheating can cause the wax to discolor or even ignite.
Tip: "Always keep a fire extinguisher nearby when working with hot wax."
General Safety Tips
- Never leave melting wax unattended. Always stay close to your workspace.
- Keep flammable materials away from your heat source.
- Use heat-resistant containers to avoid breakage.
- Trim the wick to ¼ inch before each burn to prevent large flames and soot.
By following these safety tips, you can enjoy making your homemade candles without any worries. Now, let's explore some common issues you might encounter and how to solve them.
Troubleshooting Common Issues
Even the best candle makers run into issues. Here are some common problems and how to fix them.
Cracked Tops
Cracked tops in your homemade candles can be frustrating, but they’re usually just a cosmetic issue.
Why it happens: - Rapid cooling of the wax. - Pouring wax at too high or too low a temperature.
Fix it: - Wrap the jars in a washcloth to keep the wax from cooling too fast. This helps prevent cracks. - Melt a bit more wax and fill in the cracks.
Tunneling
Tunneling happens when the wax burns down the center, leaving a ring of unused wax around the edges.
Why it happens: - The wick is too small. - The candle wasn't burned long enough the first time.
Fix it: - Use a larger wick to ensure a full melt pool. - Burn the candle long enough the first time so the wax melts across the entire top. This prevents tunneling in future burns.
Weak Scent Throw
A weak scent throw means the fragrance isn’t spreading as far as you’d like.
Why it happens: - Not enough fragrance oil. - The wax temperature was too high or too low when the scent was added. - The type of wax used.
Fix it: - Measure your fragrance oil carefully. Too little won't throw scent well, but too much can weigh down the wax. - Add fragrance oil at the right temperature. For soy wax, this is usually around 185°F. - Check your wax type. Some waxes have a better scent throw than others. Soy wax holds fragrance well but has a lower scent throw compared to paraffin.
By understanding and addressing these common issues, you'll be well on your way to making perfect homemade candles every time. Next, let’s dive into some frequently asked questions about candle making.
Frequently Asked Questions about Homemade Candles
What's the best type of wax for beginners?
For beginners, soy wax is the best choice. It's easy to work with, burns cleanly, and is eco-friendly. Plus, soy wax has a lower melting point, which makes it safer to handle. Another great option is beeswax. It’s natural and has a pleasant honey scent, but it can be a bit harder to work with compared to soy wax.
Pro Tip: Avoid paraffin wax if you're looking for a natural option. Though it’s easy to use, it’s derived from petroleum and isn’t the best for air quality.
How can I make my candle scent stronger?
To make your candle scent stronger, follow these tips:
- Use fragrance oils: They are specifically designed for candles and provide a stronger scent than essential oils.
- Add the fragrance at the right temperature: For soy wax, this is usually around 185°F. This helps the fragrance bind better with the wax.
- Use the right amount: Follow the recommended dosage on the fragrance oil package. Typically, 1 ounce of fragrance oil per pound of wax works well.
- Let your candle cure: Allow the candle to sit for at least 24 hours before burning. This helps the scent to fully develop.
Can I reuse old candle jars for making new candles?
Absolutely! Reusing old candle jars is both eco-friendly and cost-effective. Here’s how you can do it:
- Freeze the jar: Place the used candle jar in the freezer for a couple of days. This makes it easier to remove the old wax.
- Scrape out the wax: Use a butter knife to gently scrape out the old wax and remove the wick.
- Clean the jar: Wash the jar with warm, soapy water to remove any residue.
Pro Tip: If you can’t get all the old wax out, it’s okay to leave a little in there. Just make sure the wick is removed, as you’ll be adding a new one.
By following these tips, you can easily make your first homemade candle a success. Up next, let’s explore some creative ways to add personal touches to your candles.
Conclusion
Making your own homemade candle is not just a craft; it's a journey of creative enjoyment. Each step, from melting the wax to adding your favorite scents, allows you to personalize your candles and make them uniquely yours. The process is both therapeutic and rewarding, giving you a tangible result that adds warmth and ambiance to your home.
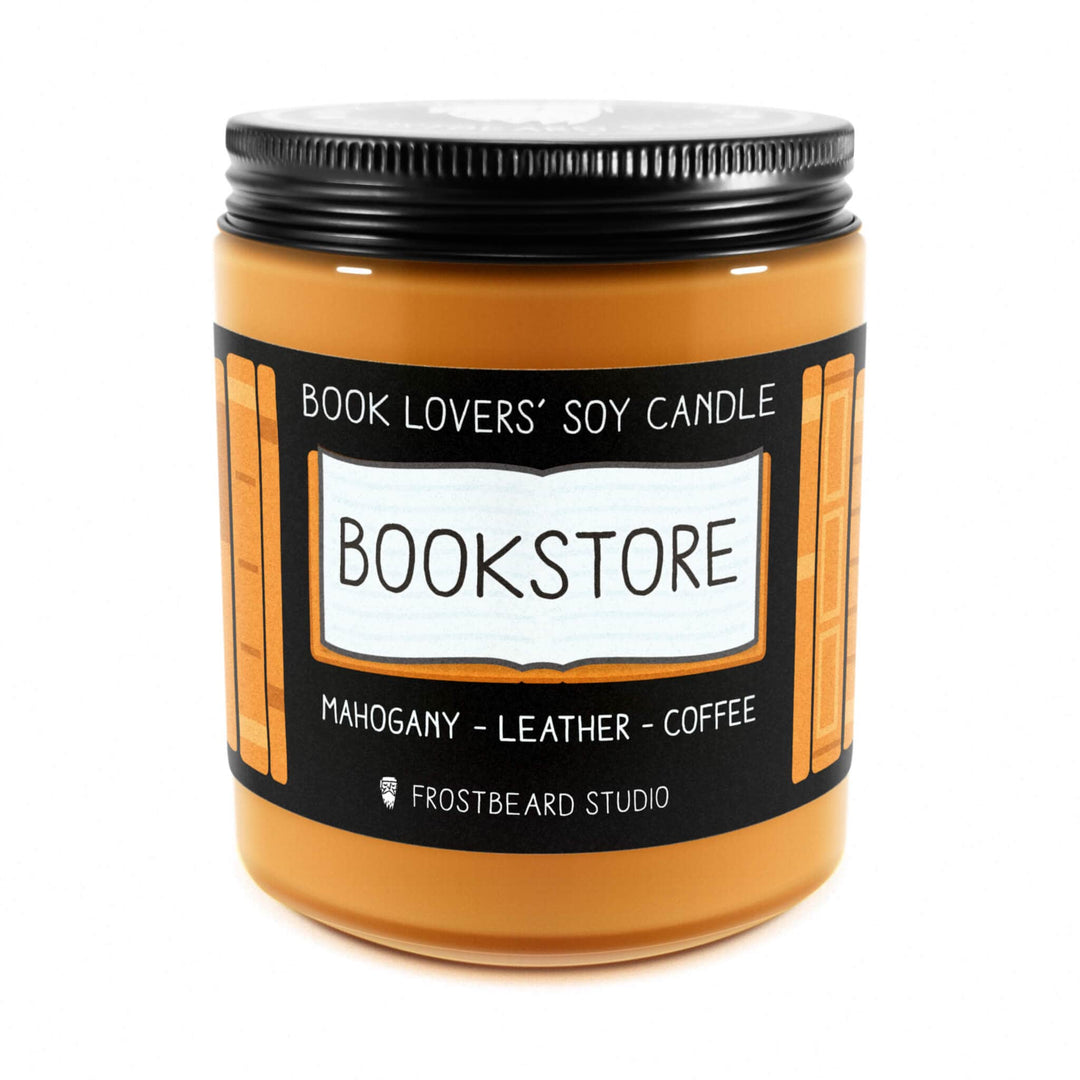
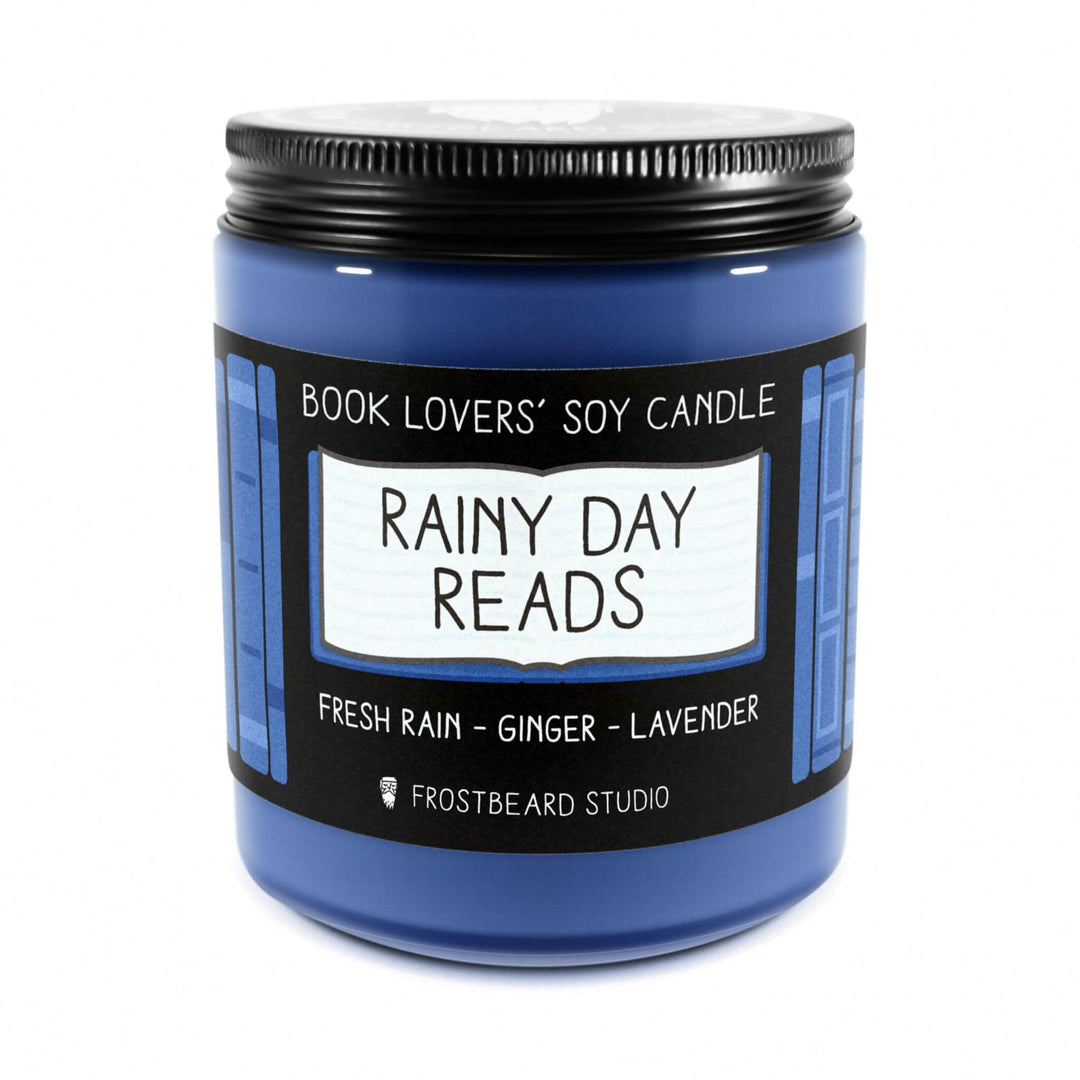
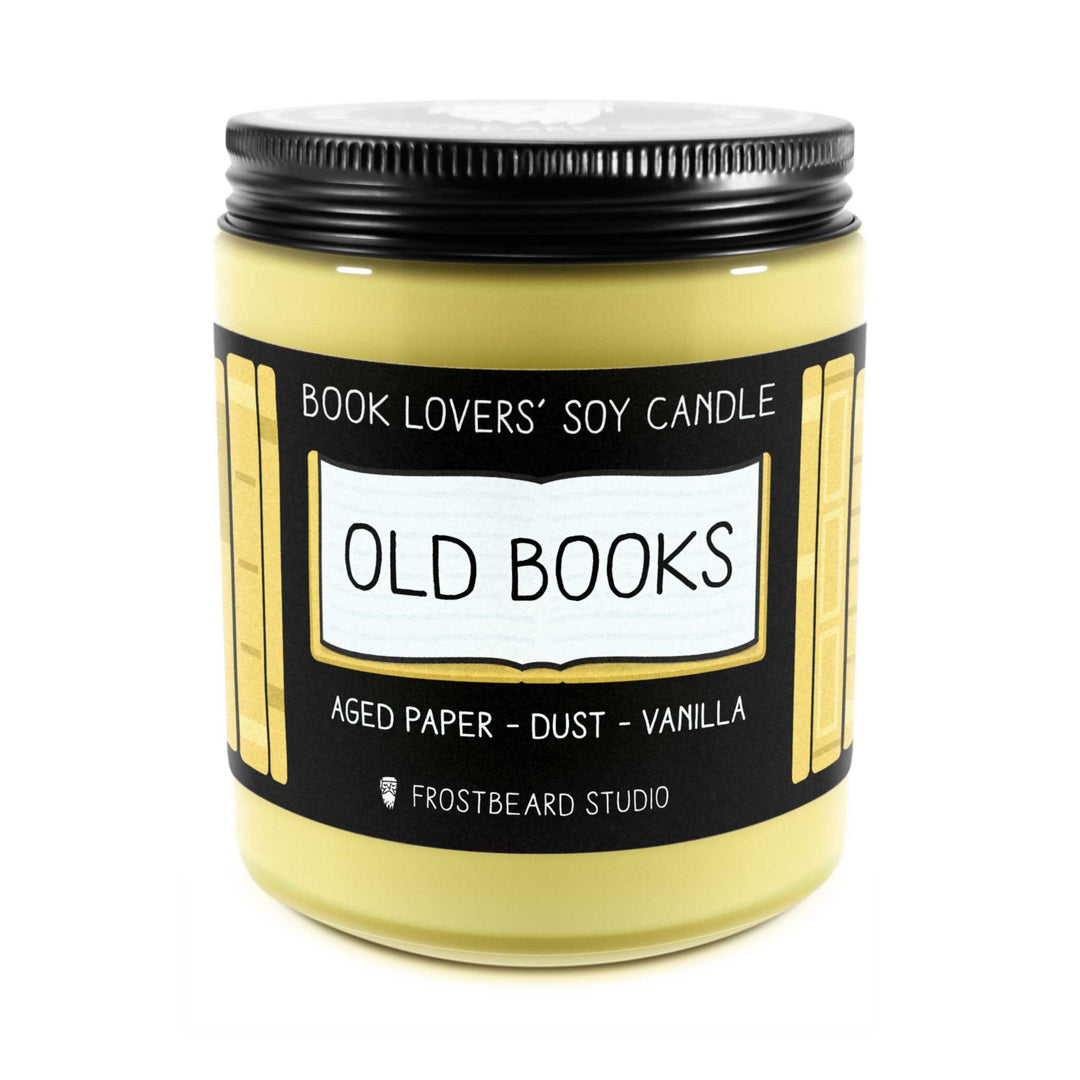
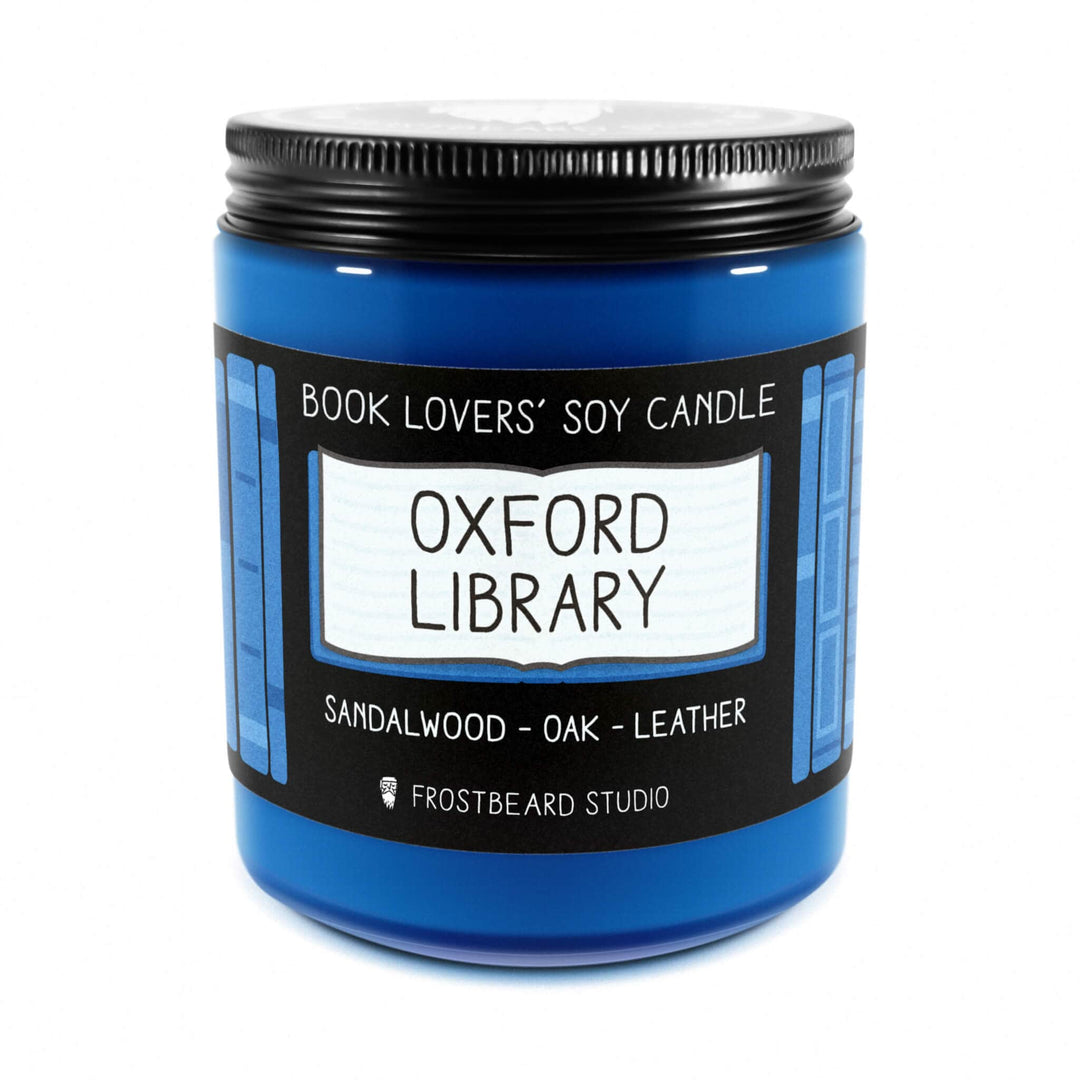
At Frostbeard Studio, we believe in the magic of DIY candle making. Our Book Lovers' Soy Candles are designed to inspire and transport you to your favorite literary worlds. Whether you're a beginner or a seasoned candle maker, our high-quality materials and easy-to-follow guides can help you create beautiful candles that you'll be proud to display or gift.
The joy of candle making lies in the process. Experiment with different scents, colors, and containers. Don't be afraid to make mistakes; each one is a learning opportunity. And most importantly, have fun with it!
Thank you for joining us on this candle-making adventure. We hope you find as much joy in creating your candles as we do in making ours. Happy crafting!


