


Upcycle Your Library: Things to Do with Old Books
Looking for art projects with old books? Whether you're a book lover with a surplus of old tomes or someone who loves to craft, upcycling old books can be both eco-friendly and fun. Here’s a quick list of creative projects you can try:
- Book Page Wreath
- Book Planters
- Book Page Coasters
- Book Page Jewelry
- Book Page Wall Art
If you want to explore more details, keep reading.
So, why might you want to upcycle those old, forgotten books gathering dust on your shelves? Crafting with them not only helps reduce waste but also gives a personal, unique touch to your home decor. You can transform pages into charming coasters, stylish planters, or even holiday ornaments. The possibilities are as endless as your imagination.
As an expert in turning old books into beautiful creations, I’ve gathered this list to provide you with plenty of inspiration. Not only does this practice breathe new life into neglected books, but it also aligns perfectly with a book lover's lifestyle, marrying a love for literature with creativity.

10 Creative Art Projects with Old Books
Looking for art projects with old books? Whether you're a book lover with a surplus of old tomes or someone who loves to craft, upcycling old books can be both eco-friendly and fun. Here’s a quick list of creative projects you can try:
- Book Page Wreath
- Book Planters
- Book Page Coasters
- Book Page Jewelry
- Book Page Wall Art
If you want to explore more details, keep reading.
So, why might you want to upcycle those old, forgotten books gathering dust on your shelves? Crafting with them not only helps reduce waste but also gives a personal, unique touch to your home decor. You can transform pages into charming coasters, stylish planters, or even holiday ornaments. The possibilities are as endless as your imagination.
As an expert in turning old books into beautiful creations, I’ve gathered this list to provide you with plenty of inspiration. Not only does this practice breathe new life into neglected books, but it also aligns perfectly with a book lover's lifestyle, marrying a love for literature with creativity.
1. Book Page Wreath
A book page wreath is an neat way to repurpose old book pages into a stunning piece of wall decor. Roll the pages into cones and glue them in a circular pattern. The result is a beautiful wreath that can be hung anywhere in your home.
2. Book Planters
Create a unique garden by turning old books into planters. Hollow out the center of a hardcover book, line it with plastic, and fill it with soil and your favorite small plants. This project adds a literary touch to your garden decor.
3. Book Page Coasters
Protect your tabletops with coasters made from book pages. Cut the pages into circles or squares, then decoupage them onto cork or wood bases. Seal the coasters with a waterproof finish to ensure they last.
4. Book Page Jewelry
Turn book pages into unique jewelry pieces like necklaces, bracelets, or earrings. Use small book page scraps to create pendants or beads, or roll pages into tubes for an interesting texture. This is a great way to carry a piece of your favorite book with you.

5. Book Page Wall Art
Transform book pages into stunning wall art. Arrange pages in a collage, or use them as a background for other art elements like stencils or paint. The possibilities are endless, and the result is always one-of-a-kind.
6. Book Page Lamp
Illuminate your space with a book page lamp. Cover a lampshade with book pages using decoupage techniques, or stack books to create the base of a lamp. This project provides a warm, literary glow to any room.
7. Book Page Ornaments
Decorate your holiday tree with ornaments made from book pages. Fold pages into shapes like stars or balls, or create intricate paper cutouts. These ornaments add a vintage touch to your holiday decor.
8. Book Page Monogram
Create personalized decor with a book page monogram. Cut out the shape of a letter from cardboard, then cover it with book pages using glue or decoupage. This makes a great gift or a stylish addition to your home.
9. Book Page Envelopes
Make your mail special with book page envelopes. Simply fold and glue book pages into envelope shapes. These envelopes are perfect for sending letters or storing small items.
10. Book Page Gift Pouches
Wrap your gifts in book page pouches. Fold book pages into small pouches, then seal the edges with glue or tape. These pouches add a literary flair to your gift-giving.

Next, let’s dive into a step-by-step guide on how to make upcycled art with old books. We'll cover everything from materials to techniques, ensuring you have all the tools you need for your next crafting session.
1. Book Page Wreath
A book page wreath is an neat way to repurpose old book pages into a stunning piece of wall decor. This project is not only easy to make but also adds a touch of literary charm to your home.
Materials Needed:
- Old book pages
- Hot glue gun and glue sticks
- Cardboard or foam wreath form
- Scissors
Steps to Create a Book Page Wreath:
-
Prepare the Pages: Tear out pages from an old book. For a fuller wreath, you'll need about 50-70 pages.
-
Roll the Pages: Roll each page into a cone shape. Secure the ends with a dot of hot glue.
-
Create the Base: Cut a circular base from cardboard or use a foam wreath form.
-
Attach the Cones: Start by gluing the cones around the outer edge of the base. Make sure the pointy ends face inward. Add layers of cones, working your way toward the center.
-
Finish the Center: For a polished look, place a decorative item, like a small flower or a button, in the center of the wreath.
Tips:
- Vary the Sizes: Use different sizes of cones to add depth and texture.
- Personalize: Add a ribbon or paint the edges of the pages for a customized touch.
Inspiration:
According to Staley Library, repurposing old book pages into wreaths is a fantastic way to upcycle and create unique home decor. This project is perfect for book lovers who want to showcase their passion in a creative way.
Next, let’s dive into a step-by-step guide on how to make upcycled art with old books. We'll cover everything from materials to techniques, ensuring you have all the tools you need for your next crafting session.
2. Book Planters
Changing old books into book planters is a brilliant way to add a literary touch to your garden decor. This project is not only eco-friendly but also a fantastic conversation starter.
Materials Needed:
- Hardcover book
- Utility knife or craft knife
- Plastic or wax paper
- Potting soil
- Small plants or succulents
- Mod Podge or clear drying glue
Steps to Create a Book Planter:
-
Prepare the Book: Choose a hardcover book with a thick spine. This helps the planter maintain its shape.
-
Cut Out the Pages: Open the book to the first page. Use a utility knife to cut a rectangle into the pages, leaving a 1-inch border around the edges. Cut through several pages at a time until you reach a depth of about 1-2 inches.
-
Seal the Pages: Brush a layer of Mod Podge or clear drying glue around the cut-out section to seal the pages together. Let it dry completely.
-
Line the Hollowed Section: Place plastic or wax paper inside the hollowed section to prevent water damage.
-
Add Soil and Plants: Fill the lined section with potting soil and plant your small plants or succulents.
-
Finishing Touches: Brush another layer of Mod Podge around the outer edges of the book to keep it sturdy and water-resistant.
Tips:
- Choose Succulents: Succulents are ideal for book planters because they require minimal water and care.
- Decorate the Cover: Personalize the book cover with paint or decoupage to match your decor.
Inspiration:
According to Staley Library, book planters are a unique way to upcycle old books and add a touch of green to any space. This project is perfect for book lovers and gardeners alike.
Next, let’s explore how to make book page coasters. These coasters are not only practical but also add a literary flair to your coffee table. We'll cover all the materials and steps needed to create these charming accessories.
3. Book Page Coasters
Creating book page coasters is a fantastic way to combine functionality with a love for literature. These coasters are perfect for protecting your surfaces while adding a unique, bookish charm to your home decor.
Materials Needed:
- Old book pages
- Plain ceramic tiles (4x4 inches)
- Mod Podge or decoupage glue
- Paintbrush
- Scissors
- Clear acrylic sealer spray
- Felt pads or cork backing
Steps to Create Book Page Coasters:
-
Select Your Pages: Choose pages from an old book that you no longer need. Look for pages with interesting text or illustrations.
-
Cut to Size: Cut the book pages into squares slightly larger than the tiles. This will make it easier to trim them to fit perfectly later.
-
Apply Mod Podge: Brush a layer of Mod Podge or decoupage glue onto the surface of a tile. Place the book page square on top, smoothing out any bubbles or wrinkles.
-
Trim the Edges: Once the glue is dry, use scissors to trim the excess paper from the edges of the tile.
-
Seal the Coasters: Apply another layer of Mod Podge over the top of the book page to seal it. Let it dry completely. For added durability, spray a coat of clear acrylic sealer over the top.
-
Add Backing: Attach felt pads or cork backing to the underside of each tile to prevent scratching your surfaces.
Tips:
- Personalize Your Coasters: Use pages from favorite books, maps, or even sheet music to make each coaster unique.
- Gift Idea: Book page coasters make wonderful gifts for book lovers. Bundle a set with a ribbon for a thoughtful, handmade present.
Inspiration:
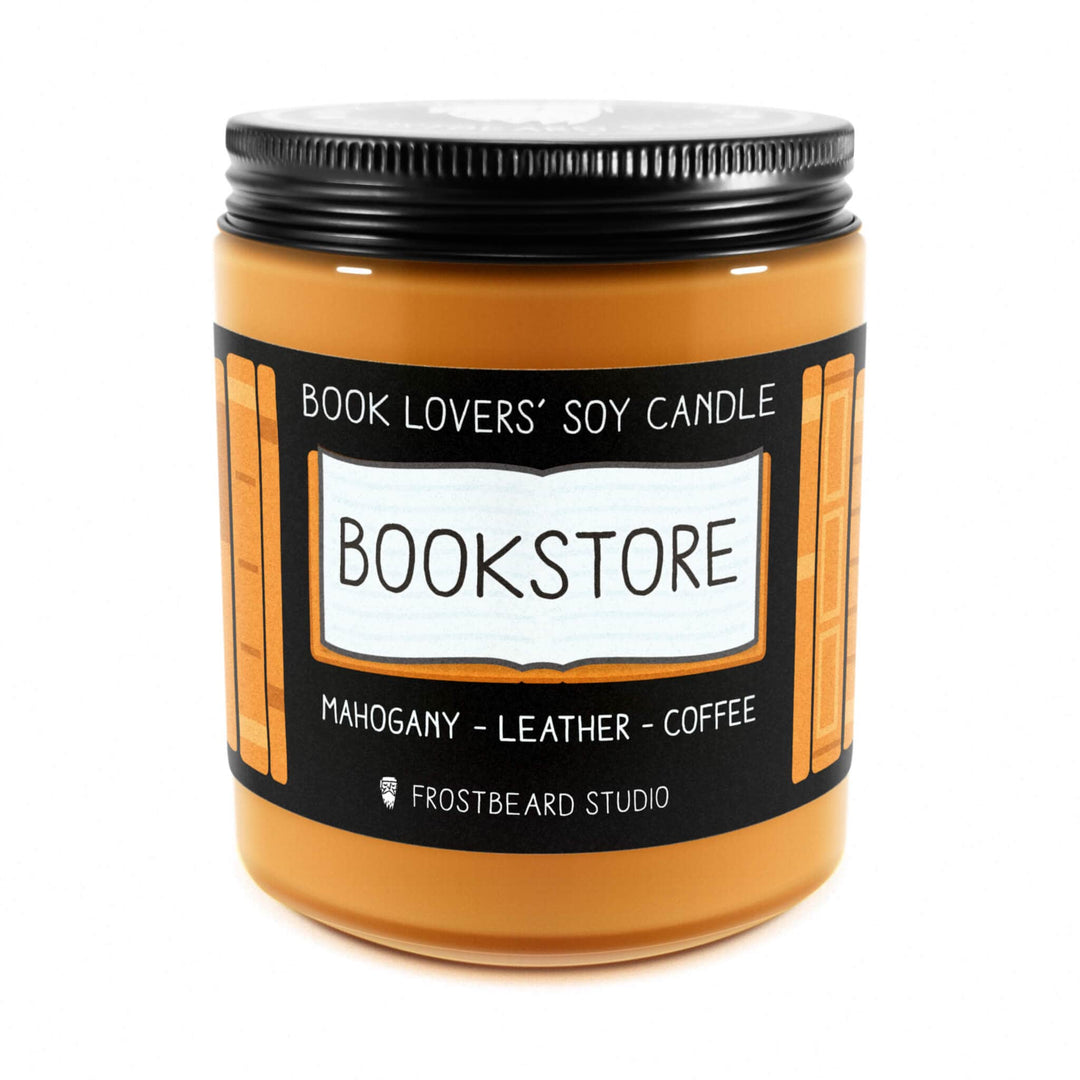
According to Frostbeard Studio, using old book pages for coasters is an eco-friendly way to upcycle materials while adding a personal touch to your home. These coasters are not only practical but also serve as a conversation starter.
Next, we’ll dive into book page jewelry. This unique craft allows you to wear your favorite literary quotes and illustrations, turning old books into stunning accessories.
4. Book Page Jewelry
Book page jewelry offers a unique way to carry a piece of your favorite stories with you wherever you go. By changing old book pages into stunning accessories, you can create one-of-a-kind gifts or personal keepsakes that resonate with literary charm.
Materials Needed:
- Old book pages
- Jewelry bases (pendants, rings, earrings)
- Mod Podge or decoupage glue
- Small paintbrush
- Scissors
- Clear glass cabochons (to fit jewelry bases)
- Jewelry glue
Steps to Create Book Page Jewelry:
-
Choose Your Pages: Select pages from an old book that feature meaningful text or illustrations. Dictionary pages, poetry, or favorite quotes work especially well.
-
Cut to Fit: Trace the shape of the jewelry base onto the book page and cut out the piece. Make sure it fits perfectly within the base.
-
Apply Mod Podge: Brush a thin layer of Mod Podge or decoupage glue onto the jewelry base. Carefully place the book page cutout on top, smoothing out any bubbles or wrinkles.
-
Seal with Cabochon: Apply a small amount of jewelry glue to the back of a clear glass cabochon. Press it firmly onto the book page, ensuring it is centered and secure.
-
Let It Dry: Allow the glue to dry completely before wearing or gifting your new piece of jewelry.
Ideas for Customization:
- Personalized Gifts: Use pages that reflect the recipient's interests or favorite books for a thoughtful, personalized gift.
- Mix and Match: Combine book pages with other materials like beads, charms, or fabric to create layered and textured designs.
- Themed Collections: Create sets of jewelry based on specific themes, such as classic literature, fantasy, or romance novels.
Inspiration:
According to Etsy, custom-made book page jewelry is a popular and heartfelt way to repurpose old books. These pieces not only serve as beautiful accessories but also hold sentimental value, making them treasured keepsakes.
Next, we’ll explore how to turn book pages into stunning wall art, perfect for adding a literary touch to your home decor.
5. Book Page Wall Art
Changing old book pages into wall art is a creative way to add a literary touch to your home decor. This project allows you to showcase your favorite texts in a visually stunning manner, making your walls not just beautiful but meaningful.
Materials Needed:
- Old book pages
- Canvas or wooden board
- Acrylic matte medium
- Paintbrush
- Scissors
- Mod Podge or decoupage glue
- Optional: Oil pastels, liquid watercolors, acrylic paints
Steps to Create Book Page Wall Art:
-
Select Your Pages: Choose pages with interesting text or illustrations. Think about using pages from classics, poetry, or even dictionaries.
-
Prepare the Canvas: Coat your canvas or wooden board with a layer of acrylic matte medium. This will help the book pages adhere better.
-
Arrange and Adhere the Pages: Lay out the book pages on the canvas to create a pleasing composition. Once you’re happy with the arrangement, use Mod Podge or decoupage glue to adhere the pages to the canvas. Smooth out any air bubbles.
-
Seal the Surface: Brush a layer of acrylic matte medium over the entire surface to seal the pages. This will protect the paper and give it a finished look.
-
Add Artistic Touches: Once the medium is dry, you can add color or texture with oil pastels, liquid watercolors, or acrylic paints. This step is optional but adds a unique artistic flair.
-
Let It Dry: Allow your artwork to dry completely before hanging it on the wall.
Ideas for Customization:
- Themed Collages: Create collages based on specific themes like romance, trip, or mystery.
- Quote Highlights: Highlight favorite quotes or passages with different colors or borders.
- Mixed Media: Incorporate other materials like fabric, buttons, or stamps to add depth and interest.
Inspiration:
Using book pages for wall art is an innovative way to upcycle old books. According to Cassie Fairy, wallpapering with book pages is a trend that adds a unique statement to any room. This technique can be adapted to smaller wall art pieces, making it accessible for any home.
Next, we’ll explore how to create a charming book page lamp, perfect for adding a cozy, literary glow to your space.
6. Book Page Lamp
Creating a book page lamp is a fantastic way to give new life to old books while adding a warm, literary glow to your space. This project is not only functional but also serves as a unique piece of decor that sparks conversation.
Materials Needed:
- Old book pages
- A lamp base and shade
- Mod Podge or decoupage glue
- Paintbrush
- Scissors
- Clear acrylic spray (optional for sealing)
Steps to Create a Book Page Lamp:
-
Choose Your Pages: Select book pages with interesting text, illustrations, or even maps. Pages from classics, dictionaries, or poetry books work great.
-
Prepare the Lamp Shade: If the lamp shade is smooth, you can start right away. For textured shades, you might want to apply a base layer of white or light-colored paint to create a uniform surface.
-
Cut and Arrange the Pages: Cut the book pages into various shapes and sizes. You can opt for a uniform look with neatly cut rectangles or a more eclectic style with torn edges.
-
Adhere the Pages: Using Mod Podge or decoupage glue, start adhering the book pages to the lamp shade. Brush a layer of glue on the back of each page and press it onto the shade, smoothing out any air bubbles. Overlap the edges slightly for a seamless look.
-
Seal the Surface: Once the entire shade is covered, brush a layer of Mod Podge or decoupage glue over the top to seal it. This will protect the pages and give the lamp a finished appearance. For added durability, you can spray a layer of clear acrylic spray once the glue is dry.
-
Assemble the Lamp: Once everything is dry, reassemble the lamp and screw in a light bulb.
Ideas for Customization:
- Themed Designs: Create a lamp with pages from a specific genre or author to match your reading nook's theme.
- Highlighting Text: Use a highlighter or colored pens to emphasize meaningful passages or quotes.
- Mixed Media: Incorporate other materials like fabric strips, lace, or small trinkets to add depth and texture.
Inspiration:
A book page lamp not only lights up your room but also adds a touch of vintage charm. According to Etsy, these lamps provide an amazing vintage touch to any room. Just remember to follow the rules of polarity when fixing or replacing a lamp cord to ensure safety.
Next, we’ll dive into how to create festive book page ornaments, perfect for adding a literary touch to your holiday decor.
7. Book Page Ornaments
Book page ornaments are perfect for adding a literary touch to your holiday decor. These ornaments are simple to make and can be customized to fit any theme or style. Whether you're decorating a Christmas tree or looking for unique gifts, book page ornaments are a charming and eco-friendly choice.
Materials Needed:
- Old book pages
- Scissors
- Glue (white glue or hot glue gun)
- Ribbon or string
- Glitter (optional)
- Decorative beads or buttons (optional)
Steps to Create Book Page Ornaments:
-
Choose Your Pages: Select book pages with interesting text or illustrations. Pages from novels, poetry books, or even old maps can add a unique flair.
-
Cut the Pages: Cut the book pages into desired shapes. Common shapes include stars, hearts, and circles. For a 3D effect, cut multiple identical shapes.
-
Fold and Glue: For a 3D ornament, fold each cut-out shape in half. Glue the halves together, one by one, until they form a full shape. For flat ornaments, simply glue the cut-outs to a sturdy backing like cardstock.
-
Add Details: Decorate your ornaments with glitter, beads, or buttons. You can also highlight specific words or passages with colored pens.
-
Attach Ribbon: Use a hole punch to make a small hole at the top of the ornament. Thread a ribbon or string through the hole and tie a knot to create a loop for hanging.
Ideas for Customization:
- Themed Ornaments: Create a set of ornaments based on a favorite book or author. For example, use pages from a classic novel for a vintage-themed tree.
- Personalized Gifts: Write a special message or the recipient’s name on the ornament for a personalized touch.
- Mixed Media: Combine book pages with other materials like fabric, lace, or small trinkets to add texture and interest.
Inspiration:
Book page ornaments are not just for Christmas. They can be used for various holidays and celebrations. A Pinterest collection features numerous ideas, including recycled book page ball ornaments and honeycomb ornaments. These tutorials provide step-by-step instructions to help you create beautiful decorations.
Book page ornaments are a delightful way to upcycle old books and bring a touch of literary charm to your holiday decor. Whether you’re crafting alone or with family, these ornaments are sure to add warmth and personality to your celebrations.
Next, we’ll explore how to create personalized book page monograms for unique home decor.
8. Book Page Monogram
Creating a book page monogram is a fantastic way to add a personalized touch to your home decor. This project is simple, stylish, and a perfect way to upcycle old books.
Materials Needed:
- Old book pages
- Scissors
- Glue (white glue or hot glue gun)
- Wooden or cardboard letters (available at craft stores)
- Mod Podge or acrylic matte medium
- Paintbrush
- Sandpaper (optional)
- Decorative elements like buttons, beads, or ribbons (optional)
Steps to Create a Book Page Monogram:
-
Choose Your Pages: Select pages from old books that have interesting text or illustrations. Pages from novels, poetry books, or even old textbooks work well.
-
Cut the Pages: Cut the book pages into strips or shapes that will fit over your wooden or cardboard letters. You can tear the edges for a rustic look or cut them precisely for a cleaner finish.
-
Apply Glue: Use a paintbrush to apply a thin layer of Mod Podge or acrylic matte medium to the letter. Carefully place the book page pieces onto the letter, smoothing out any wrinkles or bubbles.
-
Cover the Entire Letter: Continue gluing book page strips until the entire letter is covered. Overlap pieces slightly to ensure complete coverage. If needed, use sandpaper to smooth out any rough edges once the glue is dry.
-
Seal the Monogram: Apply another layer of Mod Podge or acrylic matte medium over the top of the book pages to seal and protect them. This will give your monogram a finished look and add durability.
-
Add Decorative Elements: Customize your monogram by adding buttons, beads, ribbons, or other decorative elements. You can also highlight specific words or passages with colored pens for a personal touch.
Ideas for Customization:
- Family Initials: Create a set of monograms for each family member's initial. Display them together on a shelf or mantel for a cohesive look.
- Themed Monograms: Use pages from a favorite book or genre to create themed monograms. For example, use pages from a travel guide for a wanderlust-themed letter.
- Color Accents: Paint the edges of the wooden or cardboard letters in a complementary color before adding the book pages for an extra pop of color.
Inspiration:
Book page monograms can be a unique addition to any room. Whether you place them in a nursery, living room, or office, they add a touch of literary charm and personalization. Check out this Pinterest collection for more creative ideas and tutorials on using book pages in home decor.
Book page monograms are a wonderful way to upcycle old books and create personalized decor that reflects your love for literature. With just a few materials and a bit of creativity, you can transform simple letters into meaningful art pieces.
Next, we’ll explore how to create book page envelopes for your stationery needs.
9. Book Page Envelopes
Creating book page envelopes is a delightful way to upcycle old books and add a literary touch to your stationery. These envelopes can be used for letters, invitations, or even as unique gift wrap.
Materials Needed:
- Old book pages
- Envelope template or an existing envelope to trace
- Scissors
- Glue stick or double-sided tape
- Ruler
- Pencil
- Decorative elements (optional)
Steps to Create Book Page Envelopes:
-
Choose Your Pages: Select pages from old books that have interesting text or illustrations. Pages from novels, poetry books, or even vintage children's books can add a special charm.
-
Trace the Template: Use an existing envelope or an envelope template to trace onto the book page. Ensure the text or images you want to highlight are well-placed within the template.
-
Cut the Shape: Carefully cut out the envelope shape using scissors. Be precise to ensure the edges align perfectly when folded.
-
Fold the Envelope: Fold along the traced lines. Start with the side flaps, then fold the bottom flap up. Use a ruler to make crisp folds.
-
Glue the Edges: Apply a glue stick or double-sided tape to the side flaps and press the bottom flap over them to secure. Ensure the edges are well-adhered to prevent the envelope from coming apart.
-
Seal the Envelope: Once you place your letter or card inside, seal the envelope by applying glue to the top flap. You can also use decorative stickers or wax seals for an neat touch.
Ideas for Customization:
- Personalized Touch: Add a small note or illustration inside the envelope for a surprise element.
- Decorative Elements: Improve your envelopes with washi tape, stickers, or rubber stamps.
- Highlight Text: Use colored pens to highlight specific words or passages that relate to the recipient or the occasion.
Inspiration:
Book page envelopes can make your correspondence stand out. Whether you’re sending a heartfelt note or an invitation, these envelopes show thoughtfulness and creativity. Check out this Pinterest collection for more ideas and tutorials on using book pages in your stationery projects.
Book page envelopes are an excellent way to upcycle old books and create unique, personalized stationery. With minimal materials and effort, you can transform simple book pages into beautiful envelopes that add a literary flair to your correspondence.
Next, we’ll explore how to make book page gift pouches for wrapping small presents.
10. Book Page Gift Pouches
Book page gift pouches are a charming and eco-friendly way to wrap small presents. They add a unique, literary touch to your gifts and are perfect for book lovers. Let's explore how you can create these delightful pouches using old book pages.
Materials Needed:
- Old book pages
- Scissors
- Glue stick or double-sided tape
- Ruler
- Pencil
- Ribbon or twine (optional)
- Decorative elements (optional)
Steps to Create Book Page Gift Pouches:
-
Select Your Pages: Choose pages from old books that are in good condition. Pages with interesting text or illustrations work best. Vintage children's books or novels can add a nostalgic touch.
-
Cut the Pages: Cut two book pages to the same size. The size will depend on how big you want your gift pouch to be. Use a ruler and pencil to measure and mark the dimensions before cutting.
-
Align and Glue: Place the two pages together, aligning the edges. Apply a glue stick or double-sided tape along three edges, leaving the top edge open. Press firmly to ensure the sides are well-adhered.
-
Fold and Crease: Fold the glued edges slightly to create a crisp crease. This helps the pouch hold its shape better.
-
Add a Closure: Fold the top edge down to create a flap. You can secure it with a piece of ribbon, twine, or a decorative sticker. If you prefer, you can punch two holes at the top and thread a ribbon through to tie it closed.
Ideas for Customization:
- Personalized Touch: Write a small note or draw a simple illustration on the book page before assembling the pouch.
- Decorative Elements: Add stickers, washi tape, or rubber stamps to improve the look of your gift pouch.
- Themed Pouches: Use pages with specific themes or texts that relate to the recipient or the occasion. For example, use pages from a romance novel for a wedding gift.
Inspiration:
Book page gift pouches are perfect for wrapping small items like jewelry, gift cards, or homemade treats. They add a thoughtful, handmade element to your gifts. For more creative ideas and tutorials on using book pages for wrapping, check out this Pinterest collection.
Book page gift pouches are a fantastic way to upcycle old books and create unique, personalized wrapping. With just a few materials and simple steps, you can transform ordinary book pages into beautiful pouches that make your gifts stand out.
Next, we’ll explore how to make upcycled art with old books using various crafting techniques.
How to Make Upcycled Art with Old Books
Step-by-Step Guide
Creating upcycled art with old books is a fun and eco-friendly way to repurpose materials and add a unique touch to your home decor. Follow this step-by-step guide to learn different crafting techniques that will bring your old books back to life.
Materials Needed:
- Old book pages
- Acrylic matte medium
- Paintbrush (medium or wide)
- Canvas (5x7 is a good starting size)
- Scissors
- Photocopy of a high-contrast black and white image (laser print)
- Oil pastels, liquid watercolors, or acrylic paints
Step 1: Cut Strips of Paper
Start by cutting your old book pages into strips. These will be used to cover your canvas, creating a textured background.
Step 2: Layer Canvas with Medium
Apply a thin layer of acrylic matte medium to the canvas using your paintbrush. This medium helps the paper strips adhere to the canvas and provides a smooth surface for painting.
Step 3: Place Strips of Paper
Lay the paper strips on the canvas, overlapping them slightly. Press them down firmly to ensure they stick well. Apply another layer of matte medium on top of the strips to seal them in place.
Step 4: Building Up Layers
Continue adding layers of paper strips and matte medium until the entire canvas is covered. This creates a rich, textured background. Keep a rag handy to wipe off any medium buildup on your fingers.
Tip: Avoid clumps by rubbing off dry medium buildup from your fingertips as you go.
Step 5: Don’t Forget the Edges
Wrap the paper strips around the edges of the canvas to give it a finished look. This makes your artwork look polished from all angles.
Step 6: Add an Image with Photocopy Transfer
Choose a high-contrast black and white image and make a photocopy using a laser printer. Trim the image close to the borders but keep the paper in a regular shape for easy peeling later.
Apply a thin layer of matte medium to both the face of the photocopy and the area on the canvas where you’ll place it. Stick the image down and let it dry.
Tip: Adjust the contrast of your image for a crisp, dark transfer.
Step 7: Finish the Transfer
Once the paper is dry, slowly peel off a corner to check if the toner stays on the canvas. If it peels off with the paper, let it dry longer. Once ready, rub off the remaining paper with your fingertips or a damp rag to reveal the image.
Step 8: Pick Words to Emphasize
You can highlight specific words or phrases from the book pages using oil pastels, liquid watercolors, or acrylic paints. For a blended look, apply a thin layer of matte medium over the area before adding color.
Step 9: Add Color and Movement
Experiment with dropping liquid watercolors on the canvas and adding water to create different effects. Dab with a rag or paper towel for varied tones.
By following these steps, you can transform old book pages into beautiful, personalized art. This project is perfect for rainy days, crafting with children, or anyone looking to explore their creative side.
Next, we’ll answer some frequently asked questions about art projects with old books.
Frequently Asked Questions about Art Projects with Old Books
What to Make Using Old Books?
Old books can be transformed into a variety of creative projects. Here are some ideas:
- Coasters: Cut book pages into circles or squares, and decoupage them onto cork or wooden coasters. Seal with a waterproof finish.
- Bookmarks: Use illustrations or text from old books to create unique, personalized bookmarks. Add embellishments like ribbons or beads.
- Craft Stick Puzzle: Glue a book page onto craft sticks arranged side-by-side. Once dry, cut between the sticks to create a puzzle.
- Table Runner: Arrange book pages in a long line and glue them together to make a unique table runner.
- Envelopes: Fold book pages into envelopes for a vintage touch to your correspondence.
- Upcycled Art: Follow our step-by-step guide to create layered canvas art using book pages and other materials.
What to Do with Vintage Children's Books?
Vintage children's books are often beautifully illustrated and can be used in many ways:
- Crafts: Turn pages into wall art, bookmarks, or coasters. The colorful illustrations add a whimsical touch.
- Vintage Book Calendar: Create a desktop calendar using pages from children's books. This project is both fun and functional.
- Ornaments: Make holiday ornaments by cutting out shapes from the book pages and gluing them onto cardboard or wood.
How to Make a Star Out of Old Book Pages?
Creating a star from old book pages is a fun and easy project:
- Materials Needed:
- Old book pages
- Paper mache paste or glue
-
Jewelry beads (optional for added decoration)
-
Steps:
- Cut Pages: Cut book pages into star shapes. You can use a stencil or freehand it.
- Layer and Glue: Layer multiple star shapes together, gluing each layer to add thickness and stability.
- Paper Mache: Apply a layer of paper mache paste over the star to harden it. Let it dry completely.
- Decorate: Add jewelry beads or paint to decorate your star.
This project is perfect for holiday decor or as a year-round decoration.
Next, we’ll explore some more advanced techniques for upcycling old books into beautiful, personalized art projects.
Conclusion
At Frostbeard Studio, we believe that old books deserve a second life. By changing them into unique art projects, we can turn something old into something beautiful and meaningful. Whether it's making a vase, a wreath, or even a lamp, the possibilities are endless.
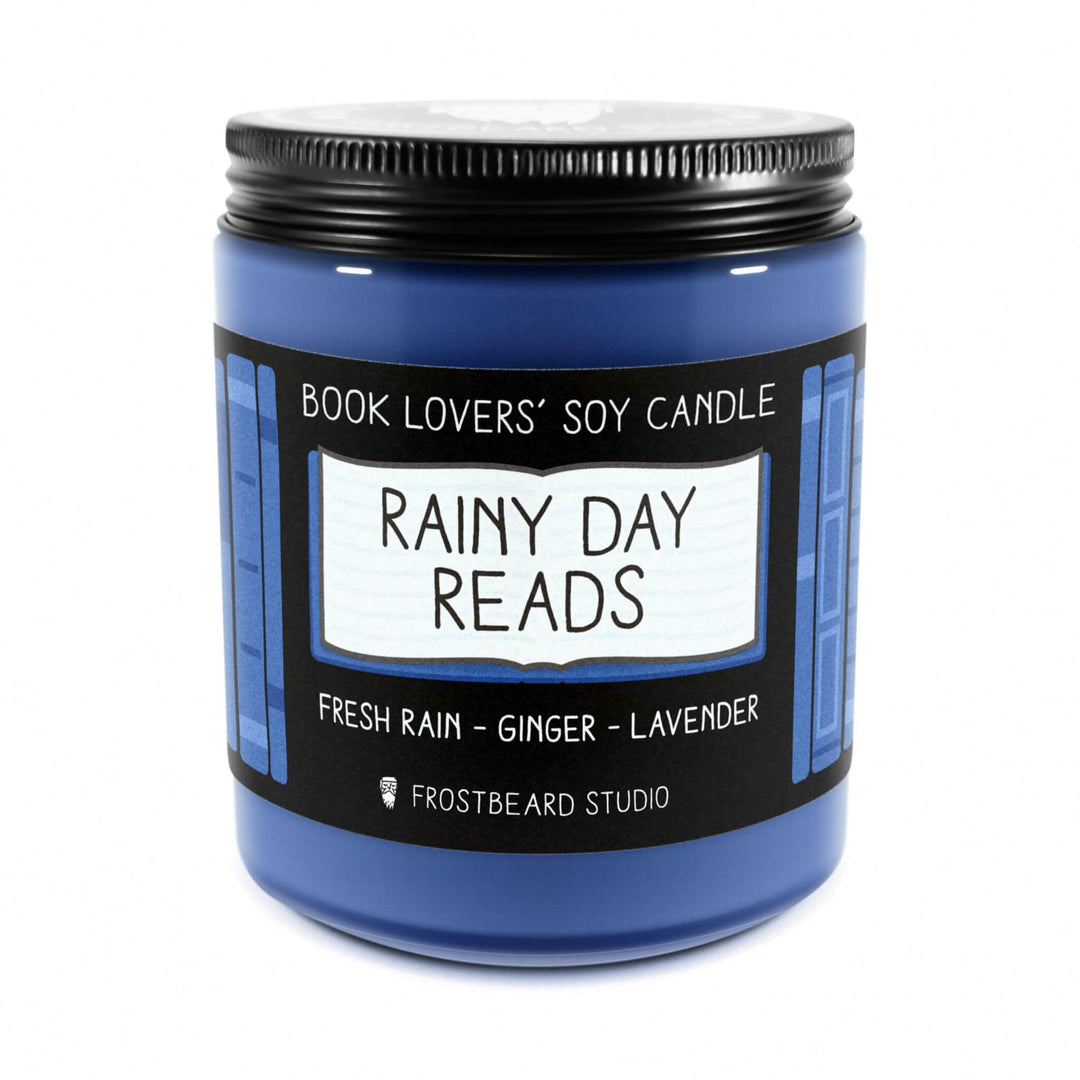
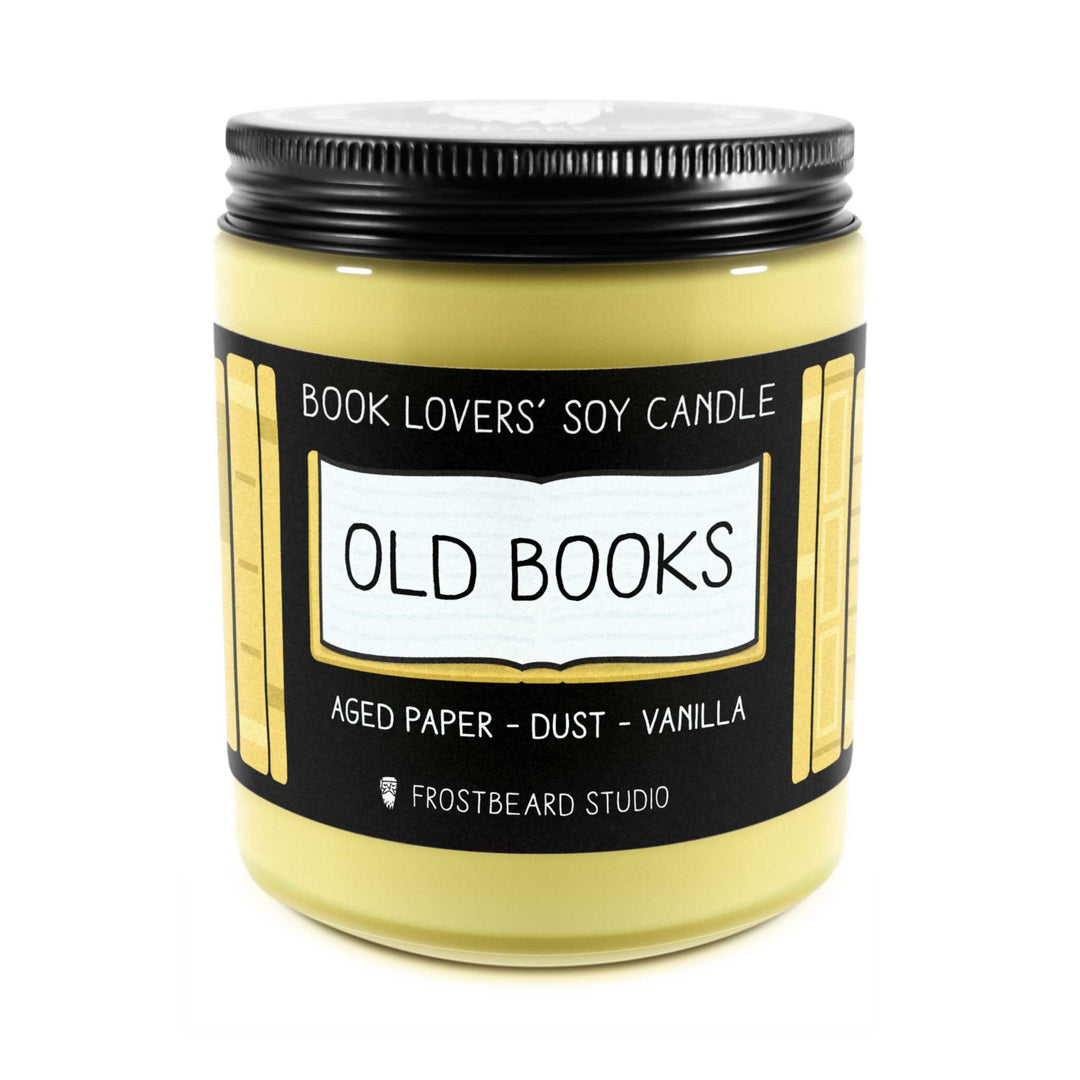
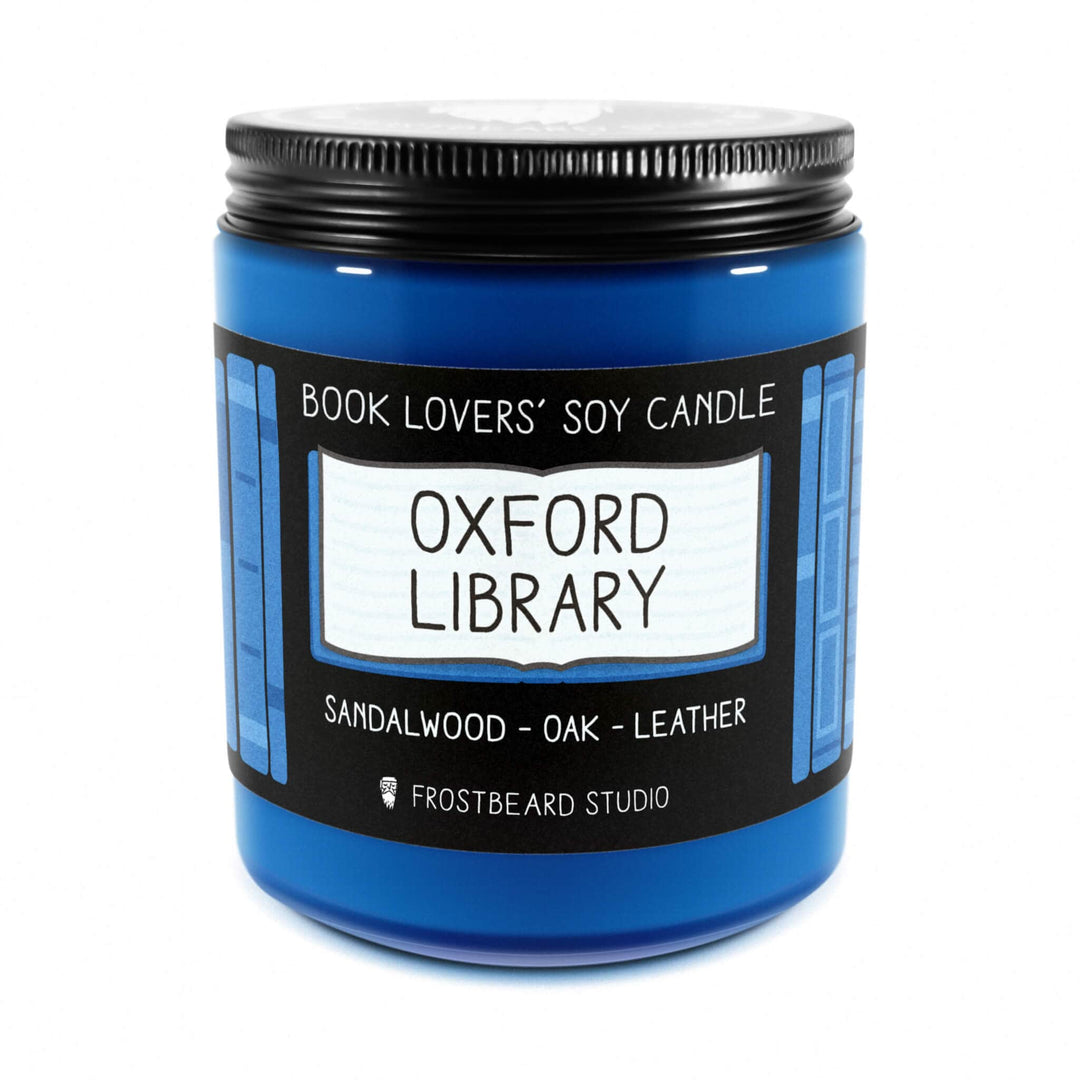
Frostbeard Studio was founded in 2012 by a Minneapolis-based couple who shared a love for books and crafting. Our passion for literature and creativity led us to create book-themed soy candles that bring the magic of reading into your home. Each candle is handcrafted with care, using eco-friendly materials that are kind to the environment.
We are committed to spreading joy and warmth through our products, one candle at a time. Whether you're a book lover looking to add a cozy touch to your reading nook or someone searching for the perfect gift, our candles are designed to inspire and delight.
If you're interested in exploring more creative ways to upcycle old books, we invite you to check out our Book Lovers' Soy Candles collection. Light a candle, grab your crafting supplies, and let your imagination run wild.
Thank you for joining us on this journey of creativity and sustainability. Together, we can make the world a more beautiful place, one upcycled book at a time.
Ready to start your next crafty project? Explore our range of book-themed soy candles to set the perfect mood.