Wall of Words: How to Make DIY Book Page Art
DIY book page wall art is a fantastic way to bring the charm of vintage literature into your home. Whether you're a lover of old books for their unique history or their musky fragrance, this craft creates a cozy and inviting space. If you're eager to dive in, here's a quick guide: Gather old books, tear out interesting pages, arrange and glue them onto hardboard, then attach the boards to your wall. In minutes, you'll have a personalized art piece steeped in literary charm.
Changing any room with diy book page wall art is not only simple but also budget-friendly. You can find books at flea markets or charity shops, making it easy to acquire materials without breaking the bank. Plus, it's a flexible project—perfect for covering entire walls or creating smaller, focused designs that add a touch of character to your space.
My name is Roxie Lubanovic, co-founder of Frostbeard Studio, where we bring the love of books to life through creative ventures like our unique book-scented candles. With a background in both studio art and literature, I've spent years exploring how to creatively merge the two, and diy book page wall art is a delightful project that combines both. Let's dig deeper into creating your very own wall of words!
Easy diy book page wall art word list:
- book themed home decor
- how to decorate a coffee table with books
- reading room ideas
Materials Needed for DIY Book Page Wall Art
Creating your diy book page wall art starts with gathering the right materials. Here's a simple list to guide you:
Old Books
Look for old or vintage books at flea markets or charity shops. These books often have beautifully aged pages that add character to your art. Choose a mix of pages with different colors and textures for a unique look. You only need a few pages from each book, so you can preserve the rest.
Glue Sticks
Glue sticks are perfect for this project. They're easy to use and provide just enough adhesive to hold the pages in place without causing them to wrinkle. Opt for affordable glue sticks to keep costs down.
Hardboard
Use 3mm hardboard as a base for your book page art. It's sturdy yet lightweight, making it easy to handle and attach to walls. If you don't have a truck to transport large sheets, cut them into smaller pieces that fit snugly on your wall.
Panel Pins
Panel pins are small nails that help secure the hardboard to your wall. They're ideal for this project because they cause minimal damage to the underlying surface, allowing for easy removal if you decide to change your decor later.
Craft Knife
A craft knife is essential for making precise cuts. Use it to trim the edges of the pages and hardboard, ensuring a neat and professional finish. Be careful to keep the edges straight for a clean look.
Table Saw
A table saw is handy for cutting the hardboard to size. If you don't have one at home, consider borrowing from a friend or renting from a local tool library. Accurate cuts ensure the hardboard fits perfectly, reducing the need for excessive panel pins.
With these materials, you're ready to start your diy book page wall art project. Next, we'll guide you through the step-by-step process of changing your wall into a literary masterpiece.
Step-by-Step Guide to Creating Your Book Page Wall
Step 1: Gather Your Books
Start by collecting old or vintage books from flea markets and charity shops. These places are treasure troves for finding books with beautifully aged pages. Look for a variety of books with different types of paper and print styles to add texture and interest to your wall. You only need a few pages from each book, so you can keep the rest intact.
Step 2: Prepare Your Pages
Carefully rip out the pages you want to use. Try to keep the edges as straight as possible to make the final layout look neat. Select pages that are visually interesting — think chapter titles, maps, or illustrations. These elements add character and narrative depth to your wall.
Step 3: Prepare the Wall or Board
Before you start, make sure the surface you're working on is clean and smooth. If you're using hardboard, cut it to fit your wall snugly. You can use a table saw or borrow one from a local tool library to get precise cuts. A snug fit minimizes the number of panel pins needed and keeps the underlying wallpaper safe if you choose to remove the art later.
Step 4: Arrange and Glue Pages
Organize your book pages into piles to help create a balanced layout. Use glue sticks to attach the pages to the hardboard. Start in the center and work your way outwards, layering the pages at slight angles. This technique adds depth and prevents the layout from looking too uniform. Leave gaps for larger, double-center pages which can cover more area and add a focal point.
Step 5: Attach to Wall
Once you're satisfied with the layout, it's time to secure the boards to the wall. Use panel pins to attach the hardboard, ensuring they are evenly spaced to keep the board flat against the wall. After securing, lightly sand the joins and any raised panel pin holes. This prevents them from being visible through the pages and ensures a smooth finish.
With these steps, your diy book page wall art will transform any room into a cozy, literary haven. The next section will explore creative ideas to personalize your book page wall even further.
Creative Ideas for Book Page Art
Once you've mastered the basics of diy book page wall art, it's time to let your creativity shine. Here are some ideas to make your wall art truly unique and personal.
Design Shapes
Instead of a simple rectangular layout, consider designing shapes with your book pages. You can form hearts, stars, or even abstract patterns. Use a pencil to lightly sketch the shape on your board or wall before arranging the pages. This approach adds a whimsical touch and can highlight specific areas of your room.
Use Different Papers
Mixing different types of paper can improve the visual appeal of your art. Combine pages from novels, encyclopedias, and even sheet music. The varied textures and fonts create a rich mix that draws the eye. For a cohesive look, stick to a similar color palette, or go bold with contrasting hues for a dynamic effect.
Add Art Pieces
Incorporate small art pieces or illustrations to break up the text and add interest. You could frame a favorite quote or image from a book page using a contrasting paper border. Another idea is to add small three-dimensional elements like paper flowers or origami figures. This layered effect can make your book page wall art a conversation starter.
Lighting and Ambiance
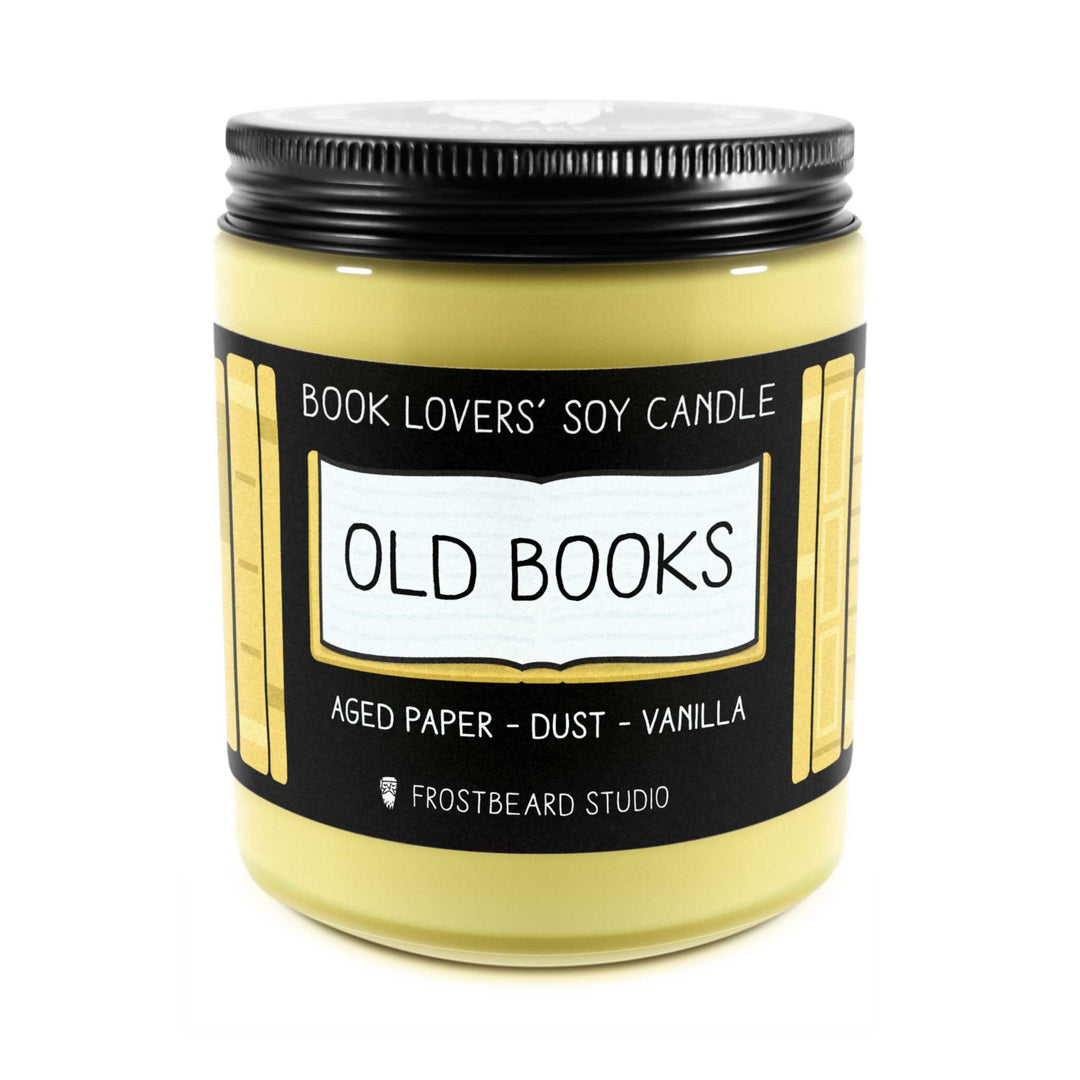
Improve your book page wall with strategic lighting. String fairy lights around the edges or use spotlights to highlight particular sections. For added ambiance, consider adding a candle like Old Books, with its comforting scent of aged paper, dust, and vanilla. This will not only illuminate your art but also create a cozy reading nook vibe.
These creative ideas will help you personalize your book page wall art, making it a reflection of your unique style and love for literature. In the next section, we'll address some frequently asked questions about book page wall art to help you troubleshoot common challenges.
Frequently Asked Questions about DIY Book Page Wall Art
How to stick book pages to a wall?
Sticking book pages to a wall can be done using a few different methods, each with its own benefits. Double-sided tape is a simple and clean option. It's easy to use and won't leave residue on the wall. Just apply small strips of tape to the corners of each page and press them firmly onto the wall.
Another option is Command strips, which are great for a more secure hold. They come in various sizes and can support heavier paper or layered designs. Plus, they're removable without damaging the wall, making them ideal for renters or those who like to change up their decor frequently.
Can I use book pages as wallpaper?
Yes, book pages can be used as wallpaper to create a unique and literary-themed space. For this, Modge Podge is your best friend. It acts as both a glue and a sealer, ensuring the pages stay in place and are protected from wear. Start by brushing a layer of Modge Podge onto the wall, place the book page, and then smooth out any air bubbles with a credit card or a similar tool. Once all pages are applied, finish with another coat of Modge Podge to seal everything in place.
How to glue pages on a wall?
For those who prefer using glue, Elmer's glue is a popular choice. To prevent the glue from being too thick, you can thin it with a bit of water. Mix the glue and water in a small bowl until you achieve a paint-like consistency. Brush this mixture onto the wall where you want the page to go, press the page into place, and smooth out any bubbles. This method is effective and allows for easy adjustments as you work.
By choosing the right method for your project, you can ensure that your book page wall art stays secure and looks stunning. Whether you opt for tape, strips, or glue, each technique offers a way to bring your literary vision to life without hassle.
Conclusion
Creating diy book page wall art is more than just a fun project—it's a way to bring your love of literature into your home decor. At Frostbeard Studio, we believe in enhancing your reading experience not just with our unique, book-inspired candles but also through creative decor that reflects your passion for books.
Imagine curling up with your favorite novel surrounded by a wall of pages that tell their own stories. Our candles, like Bookstore with its rich scents of mahogany, leather, and coffee, can add another layer of ambiance to your literary haven. The warm glow and unique aromas can transform your reading nook into a cozy escape, where every sense is engaged.
Book-themed decor offers endless possibilities for personal expression. You can design your wall art to reflect your favorite genres, authors, or even specific books. Pairing this with our candles can create a truly immersive environment, making every reading session a memorable experience.
Explore our collection of candles and find how scent and decor can work together to create a sanctuary for book lovers. Accept the literary charm in your home and let your walls tell a story as captivating as the books you love.


