Art Shelf Essentials: Finding the Perfect Fit for Your Home
Introduction
An art shelf can transform a plain wall into a stunning visual showcase, reflecting your unique style and elevating your home decor. Whether you're striving for a minimalist, modern look or a cozy, eclectic vibe, the right art shelf can be your canvas.
Quick answer: An art shelf is a versatile and stylish way to display your favorite artworks, books, plants, and more, providing both aesthetic appeal and functional storage.
- What it is: A versatile display unit for art and decor.
- Why use it: Enhances home decor, provides functional storage, and personalizes your space.
- Where to place it: Living rooms, bedrooms, entryways, or any blank wall needing a touch of creativity.
Choosing the perfect art shelf involves considering dimensions, materials, and styles suitable for your space. From creating dynamic arrangements to integrating shelves seamlessly with your existing decor, this guide will help you find the perfect fit.

The next section will delve into selecting the right art shelf for your home, considering aspects like size, material, and style.
Choosing the Right Art Shelf for Your Space
When choosing an art shelf for your home, there are several factors to consider. These include the dimensions, material, and style of the shelf, as well as the type of art shelf that best suits your needs. Let's dive into these aspects to help you make an informed decision.
Types of Art Shelves
Floating Shelves Floating shelves are a popular choice for their sleek, modern look. They attach directly to the wall with hidden brackets, giving the appearance that they are "floating." These shelves are great for minimalist designs and can hold small items like picture frames, plants, and decorative objects.
Picture Ledges Picture ledges are designed with a special groove to hold frames at the perfect angle. They are versatile and can display more than just photos—think records, souvenirs, and small plants. Picture ledges are ideal for those who like to frequently change their display without making multiple holes in the wall.
Modular Shelves Modular shelves offer flexibility and can be arranged in various configurations. They are perfect for creating a customized look and can adapt as your needs change. These shelves are great for larger spaces where you want to make a statement with your display.
Considering Shelf Length
Ideal Length The ideal length of your art shelf depends on what you plan to display and the size of your wall space. A longer shelf can hold more items but may require more support. If you're unsure, start with a shorter shelf and add more as needed.
Room Size The size of the room plays a crucial role in determining the right shelf length. In a small room, a long shelf can overwhelm the space. Conversely, a short shelf may look out of place on a large, empty wall. Measure your wall space and visualize how the shelf will fit before making a decision.
Wall Space Consider the available wall space and how you plan to use it. If you have a narrow wall, a vertical shelf might be a better fit. For a wide wall, a horizontal shelf can create a balanced look. Remember to leave some blank space around the shelf to avoid a cluttered appearance.
Dimensions, Material, Style
Dimensions When selecting an art shelf, consider the depth, height, and width. Shallow shelves are great for small items and photos, while deeper shelves can hold larger objects. Ensure the shelf height allows for easy access to the items you want to display.
Material The material of the shelf affects both its durability and aesthetic. Wood shelves, like those made from acacia or pine, offer a warm, natural look. Metal shelves add a modern touch and are often more durable. Choose a material that complements your room's decor.
Style Select a shelf style that matches your existing decor. For a rustic look, opt for wooden shelves with a natural finish. For a contemporary feel, consider sleek, metal shelves. Transparent shelves can add a modern touch to any room.
By carefully considering these factors, you can choose an art shelf that not only fits your space but also enhances your home's overall aesthetic.
Next, we'll explore how to display art on your shelf, including creative arrangements and additional display options beyond art.
How to Display Art on Your Shelf
Creative Ways to Arrange Artwork
Art shelves offer a versatile way to showcase your favorite pieces. Here are some creative ways to arrange your artwork:
Stacking: Create a dynamic look by stacking frames of different sizes. This adds depth and makes your display more visually interesting. For example, place a smaller frame in front of a larger one to create layers.
Leaning: Leaning artwork against the wall gives a relaxed and modern vibe. It's also easier to change the display without making new holes in the wall. This method is perfect for those who like to frequently update their decor.
Layering: Layering involves overlapping pieces slightly. This technique works well with a mix of photos, prints, and small objects. It creates a rich, textured look that draws the eye.
Pro Tip: Use a special groove on picture ledges to keep smaller frames at the perfect angle. This helps in maintaining the display without constant adjustments.
Display Options Beyond Art
Your art shelf isn't just for pictures. Here are some other items you can display:
Books: Arrange books by size, color, or genre for a visually appealing effect. Mixing vertical and horizontal stacks can break the monotony and create small platforms for other decorative items.
Memorabilia: Showcase souvenirs, travel keepsakes, or awards. These items tell a story about who you are and add a personal touch to your decor.
Plants: Small potted plants or succulents can bring a fresh, green touch to your shelves. They require minimal care and add life to your space.
Fun Fact: According to Houzz, corner units are great for utilizing awkward spaces and can be custom-built to fit perfectly.
Visibility and Accessibility: Ensure that frequently used items are within easy reach. Place them at eye level for convenience. Less frequently used items can go on higher or lower shelves.
By using these creative arrangements and diverse display options, you can make your art shelf a focal point in any room.
Next, we'll dive into DIY art shelf projects, exploring cost-effective ways to personalize your space and the materials you'll need.
DIY Art Shelf Projects
Creating your own art shelf can be a fun and cost-effective way to add a personal touch to your home. Let's explore how to make a photo ledge and the materials and tools you'll need.
How to Make a Photo Ledge
Building a photo ledge is simpler than you might think. Here’s a step-by-step guide:
-
Wood Cuts: Start by choosing the type of wood. Pine is a popular choice due to its affordability and ease of use. You'll need three pieces: one for the back, one for the bottom, and a smaller piece for the front lip. For a typical ledge, cut the back piece to 36 inches, the bottom to 35 inches, and the front lip to 1 inch shorter than the bottom.
-
Assembly: Use wood glue and screws to attach the bottom piece to the back piece at a 90-degree angle. Then, attach the front lip to the bottom piece. Make sure everything is aligned before securing it.
-
Mounting: To mount your photo ledge, find the wall studs using a stud finder. Drill pilot holes through the back piece and into the studs. Secure the ledge with screws, ensuring it’s level.
Materials and Tools Needed
Here's what you'll need to get started:
- Wood Types: Pine, oak, or walnut, depending on your preference and budget.
- Hardware: Wood screws, wall anchors, and wood glue.
- Tools: Saw, drill, stud finder, level, and sandpaper.
- Finishes: Primer and paint or wood stain to match your decor.
Cost-Effective: DIY projects can save you money. A store-bought photo ledge can cost upwards of $50, while making your own can cost as little as $15.
Personalization: Customizing your art shelf means you can choose the exact dimensions, wood type, and finish that best fits your space and style.
Craftsmanship: Building your own shelf allows you to create something unique and tailored to your needs. Plus, there's a certain pride in knowing you made it yourself.
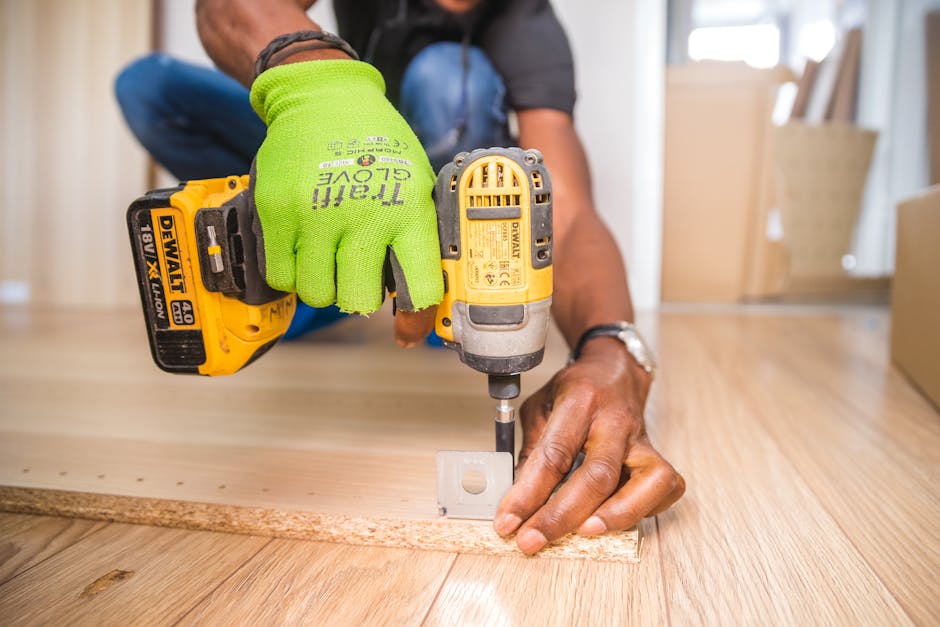
By following these steps and gathering the right materials, you can create a beautiful and functional photo ledge that enhances your home decor.
Next, we'll discuss the materials and tools needed for DIY art shelf projects.
Styling Tips for Art Shelves
Integrating Shelves with Room Decor
Art shelves can transform a room, but it's crucial to integrate them seamlessly with your existing decor. Here’s how:
Color Matching: Choose shelves that complement your room's color palette. For example, light pine shelves can blend beautifully with a rustic theme, while black or white powder-coated steel shelves offer a sleek look for modern spaces. This ensures your shelves don't feel out of place.
Theme Consistency: Stick to a consistent theme. If your room has a minimalist style, opt for frameless art or simple, clean-lined shelves. For eclectic rooms, mix and match different shelf styles and finishes. This helps in creating a cohesive look.
Balance: Arrange your items to create a balanced display. Use the decor triangle technique: place taller items at the back and shorter ones in front. This not only adds depth but also keeps the display organized.
Practical Uses of Art Shelves
Art shelves aren't just for display. They can also be incredibly functional:
Storage: Use shelves to store everyday items. In the kitchen, for instance, a recessed bookcase can keep cookbooks within reach and add a personal touch. In the bedroom, headboard shelves can hold nighttime essentials, making them both practical and stylish.
Display: Showcase your favorite pieces. From art and books to plants and memorabilia, picture ledges allow for easy swapping and updating. This flexibility is perfect for those who like to change their decor frequently.
Space Saving: Shelves can help you maximize wall space. For small homes, like the 1,000-square-foot Brooklyn loft, wall art and shelves can display collections without taking up valuable floor space. This is especially useful in tight areas where every inch counts.
By integrating shelves with your room decor and using them for both storage and display, you can create a functional and aesthetically pleasing space.
Next, we’ll cover frequently asked questions about art shelves.
Frequently Asked Questions about Art Shelves
How Long Should a Picture Ledge Be?
The length of a picture ledge depends on your wall space and what you plan to display. Generally, a 24 to 48-inch ledge works well for most rooms. For larger walls, you can go up to 60 inches or more.
Optimal Length: Measure the wall space where you plan to install the ledge. Leave some space on either side for balance. For example, in a living room with a large wall, a longer ledge can create a dramatic effect. In smaller spaces, like a hallway, a shorter ledge may be more appropriate.
Room Proportion: Ensure the ledge is in proportion to the room size. A tiny ledge on a large wall can look out of place, while an oversized ledge in a small room can overwhelm the space.
What to Put on a Picture Ledge?
A picture ledge is versatile and can hold a variety of items beyond just pictures.
Diverse Items: You can display framed photos, artwork, small plants, and decorative objects. Books, especially those with attractive covers, add a literary touch.
Decorative Tips: Mix and match items of different heights and textures. For example, combine smooth ceramic vases with rough wooden frames. Group similar items together to create a cohesive look. Use the "rule of threes"—group items in odd numbers for a more appealing arrangement.
How to Securely Install an Art Shelf?
Installing an art shelf securely is crucial to ensure it holds your items safely.
Wall Studs: First, locate the wall studs using a stud finder. Anchoring the shelf into studs provides the most support.
Proper Anchoring: If you can't find studs where you want to place the shelf, use wall anchors rated for the weight of your shelf and items. Toggle bolts and molly bolts are good options for heavier loads.
Safety Tips: Use a level to ensure the shelf is straight. Pre-drill holes to make it easier to insert screws. Always follow the manufacturer's instructions for mounting hardware. If the shelf is particularly heavy, consider getting an extra pair of hands to help with installation.
By following these guidelines, you can ensure your art shelves are both functional and secure, enhancing your home decor without worry.
Conclusion
Enhancing your home's atmosphere with art shelves is a delightful way to add personality and warmth to any room. By carefully choosing the right art shelf and thoughtfully arranging your pieces, you can create a space that feels both cozy and inspiring.
At Frostbeard Studio, we believe in the magic of books and the ambiance they can bring to your home. Our soy candles for book lovers are designed to complement your art displays, adding an extra layer of coziness to your reading nook or living room.
Whether you're in Minneapolis or anywhere else, we invite you to explore our collection and discover how our products can enhance your home's atmosphere. Thank you for joining us in celebrating the art of home decor. Happy decorating!


